Walkthrough Workshops
Build Your Own Botnet
How do botnets work and how do attackers use your machine to create them? In this beginner-friendly workshop we'll create and control a network of bots to do your bidding and learn how to better protect your network against attackers who want to do the same. We'll walk you through, command by command for setting up both the bot and the botnet and how to perform some basic operations with them.
In this workshop we will only have a single infected computer which is responsible for hosting several different bots for us to use. In the real world, the bots are spread across hundreds or thousands of infected machines. There are three components in a botnet that we will cover:
- The Implant The infected machines
- A Command and Control Server This is the server the attacker interacts with and controls the bots from.
- The Target The machine the attacker infects with bots.
1. Setting up the command-and-control server
- Locate the file called
workstation on your Desktop. This contains: the URL for the command and control server, an IP address for the implant, and an IP address for the target.
- Copy the command and control URL into a browser to view the server ("command and control server") which should look like the image below.

- Log in by clicking the "Log In" link in the top right corner. If you don't see that, click the three lines in the top right for the menu and select "Log In."
- Enter the username
a and the password 12345678
Creating the bots and generating the payload
- After logging in, navigate to the Payloads tab.
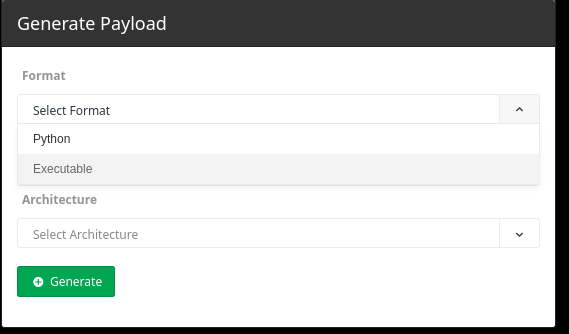
- In the Generate Payload window, click the arrow to the right of the Select Format option; this will open a drop-down menu as displayed above.
- Select Python, then click the Generate button. This will create our first python bot. Note: Do NOT click the Executable option, as they will not work with the rest of the workshop.
- Below the Generate Payload screen you will see the bot you just made. Click the Download button next to it, to download the bot to your laptop.
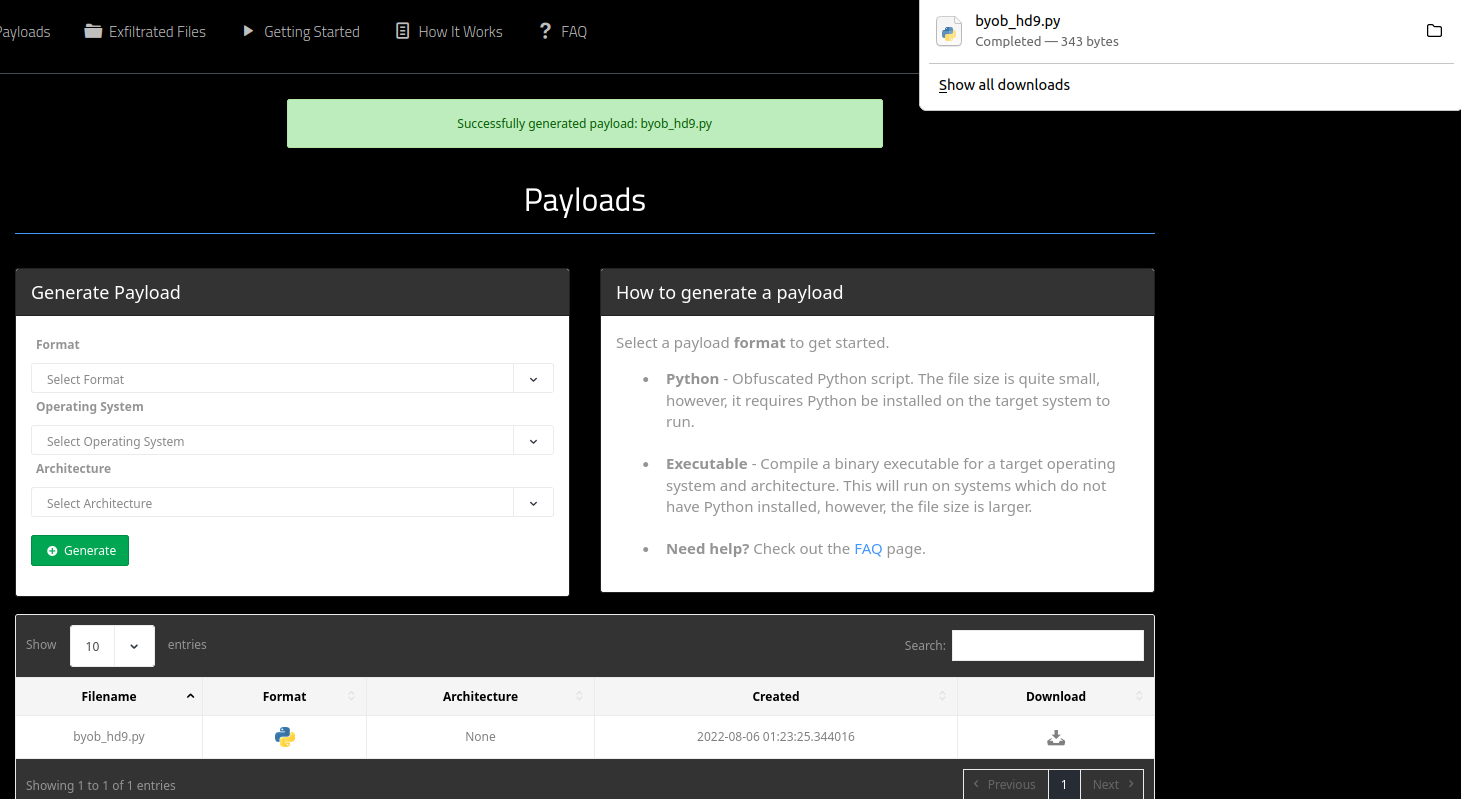
- You may see a pop-up appear when you click the Download button. Click Save File in this pop-up
- Once the bot is downloaded to your computer it will be sent to the Downloads directory. Now, you will need to send it from your laptop to the implant. In the real world this step is done after the attacker has already gained access to the machine.
- Each bot you make will be named byob_???.py where the ??? is replaced with a unique code
- Open the terminal window by tapping the Windows key and type
terminal in the search bar. You will use this terminal to send the bot to the other computer.
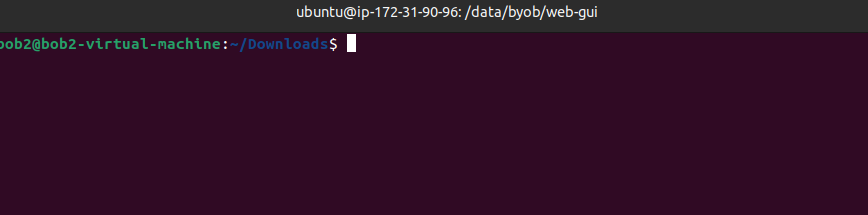
- Enter the command to navigate to the Downloads directory:
$ cd Downloads
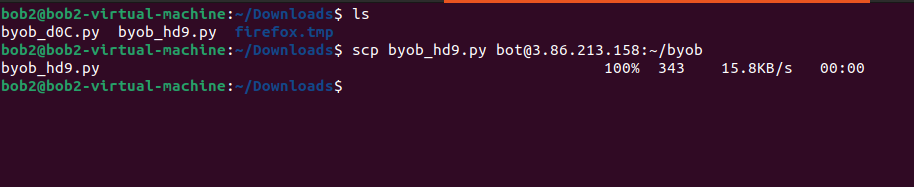
- List the bot you just made using the
ls command:
$ ls
- Next, use the
scp (secure copy) command to send the file from your laptop to our implant computer. Use the bot name and IP addresses listed in the workstation file to write the command:
$ scp byob_???.py bot@(your-bot's-ip-address):~/byob
Note that there are no spaces between the IP address and :~/byob in this command.
- Now that the bot has been sent to the implant, you need to ssh to
your-bots-ip-address (the same ip you just used). This will allow you to execute commands within the infected machine:
$ ssh bot@your-bot's-ip-address
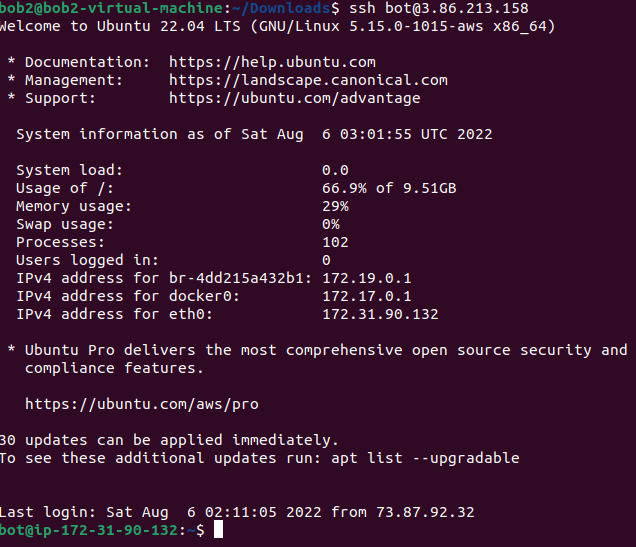
- If all is working correctly, you should see the machine name changed to
bot@some-random-ip-address
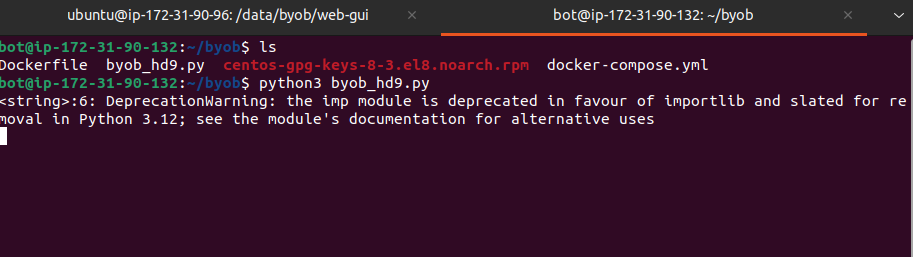
- Use the cd command to navigate to the
byob directory where the bot was sent:
$ cd byob
- Use Python to start the bot:
$ python3 (bot_name).py
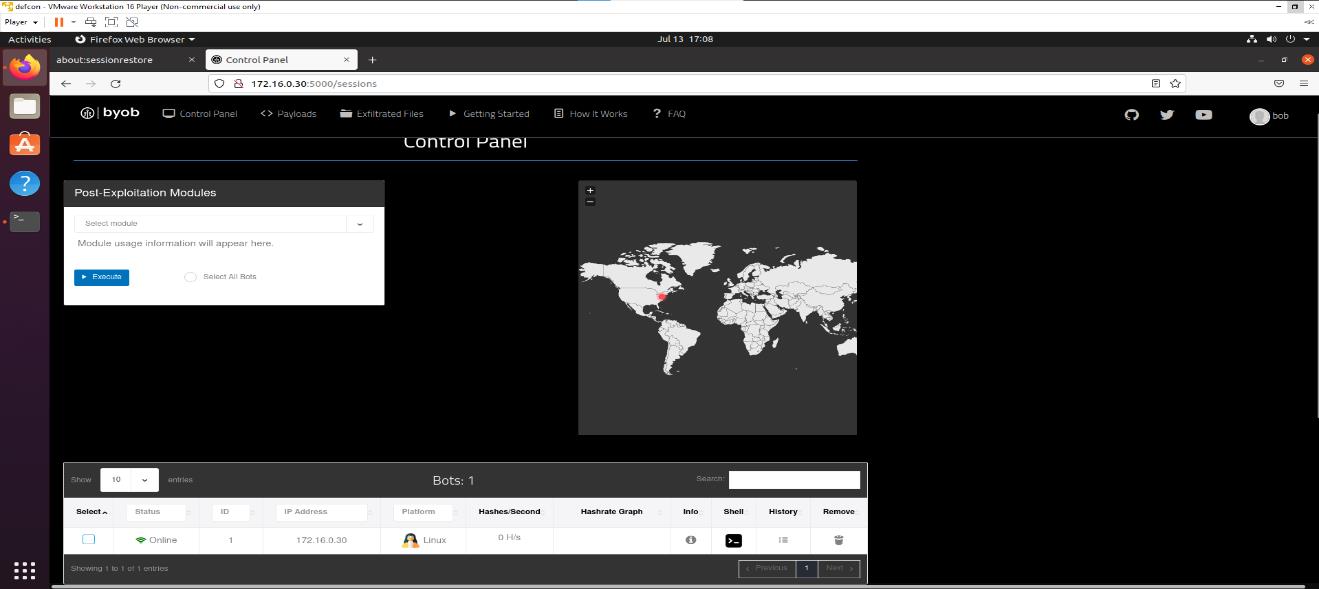
- After bot has started successfully, return to the command and control server in your web browser. Here, you should see your bot in the list of bots on the Control Panel screen (you may need to refresh the page).
1.5 Setting up the Target Computer (cowrie)
Cowrie is an application that simulates a Unix target on a host server. It allows us to quickly experiment with a clean server environment.
- Open a new terminal window to login to the target computer. (Press the Windows key and search "terminal" to open a new terminal)
- Use the ssh command to log in as the cowrie user to your bot. Replace
target-ip-address with the IP address from your workstation file:
$ ssh cowrie@target-ip-address
- After SSHing into the target, use Python to execute the script
cowpie.py:
$ sudo python3 cowpie.py
- The target is now set up and ready for us to attack it.
2. Executing your first command
Now we have a bot running on an implanted computer, and that bot is connected to the command and control server. For this exercise, go back to the command and control server Control Panel in your web browser.
- Click on the
Shell icon next to your bot in the Control Panel. This opens a reverse shell allowing you to control the bot from our CNC server. Note that the shell is different from the bot terminal and will be referred to only as the shell.
- Use the
portscanner command, which allows your bot to discover the open ports on the target machine we have created for you:
portscanner “your-target-ip-address”
A port scan is a common technique hackers use to discover open doors or weak points in a network.
- You should see a message with a list of open ports. Return to the Control Panel in the command and control server for the next steps.
3. Dockerizing your bot (creating the botnet)
In this step, we'll create multiple copies of our bot to simulate how an attacker might scale up a botnet and consume resources on infected machines. We'll use Docker to automate running many bot instances at once.
- Delete the bot you created earlier in the Control Panel by clicking the Remove button.
- Return to your terminal where the bot is running. Stop the currently running bot process so you can regain control of the terminal. Use:
CTRL + c
- Next, create a copy of your bot with a consistent name so Docker can use it for the build. Replace the
??? in the command with your bot's actual unique identifier:
$ cp byob_???.py byob_bot.py
This command renames your unique bot to byob_bot.py, ensuring that Docker always knows which file to include when building the image.
- Now you'll build the Docker image. Make sure you're still in the
byob directory and run:
$ docker build -t byob_centos -f Dockerfile .

Note: Don't forget the . at the end of this command. If you see a "COPY failed" error, double-check you're in the right directory and that you copied the bot correctly.
- After building the image, start your bots using Docker Compose. This command builds and starts the containers in detached mode:
$ docker-compose up -d --build

- Check that your containers are running correctly by listing them all:
$ docker ps -a

Look at the "STATUS" column. If you see "Exited," something went wrong. Double-check your steps and try again.
- Return to your web browser. Click the refresh button (F5) or go back to the Control Panel. Your new bots should appear in the list. If they don't, verify your Docker commands and try again or ask for help.
- In the Control Panel, look for the Post-Exploitation Modules section. Click the Select Modules drop-down to see the modules you can run on your bots.
- If your bots aren't showing up or working correctly, carefully re-run the Docker commands. Remember you can copy and paste into the terminal using
CTRL + SHIFT + v to avoid typing errors.
-
Select Portscanner
¡¡¡WARNING: Do NOT choose any module other than Portscanner or your bot will crash.!!!
Many other modules are intentionally disabled in this workshop to prevent malicious use. This is for educational purposes only.
-
After selecting Portscanner, enter the target IP address in the "Target IP" field.
- Select all bots you want to run the module on. You can do this manually or with the "Select All" button (which may appear slightly grayed out). Click the Execute (blue) button to launch the port scan.
-
To view the results of the scans, go to the History tab in the Control Panel. This lets you see the output for each bot without entering their shells individually.
4. How to defend from a botnet (basic)
In this section, we'll introduce some basic defensive ideas. We'll take on the role of a system administrator defending against our own botnet by creating simple firewall rules using iptables to block specific IP addresses we think may be a threat.
- Open a new terminal window.
- SSH into the target machine using the command:
$ ssh cowrie@target-ip-address
- Check which rules are currently in place by running:
$ sudo iptables -L --line-numbers
- Now let's add a rule to block the botnet from reaching this machine. Use:
$ sudo iptables -I INPUT -s "your-bots-ip-address" -j DROP
This command blocks all traffic from your bot's IP.
- To confirm the rule was added, re-run the list command:
$ sudo iptables -L --line-numbers
You should see your new rule in the INPUT chain, similar to this:
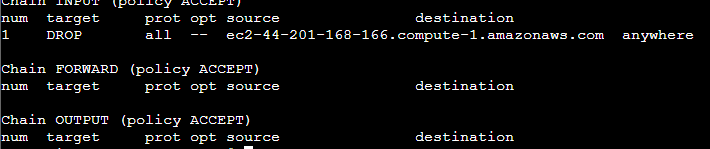
Here's what each part of that iptables command means:
-I: Insert a new rule-s: Specify the source IP address-j: Jump to a target actionDROP: Block the traffic entirely
- To test if your rule is working, go back to the Command and Control server in your browser and try running the portscan again. If everything is set up correctly, your bot should fail to connect, and you'll see "none" in the History tab results.
- When you're ready to remove the rule, use:
$ sudo iptables -D INPUT 1
This command deletes the first rule in the INPUT chain (which should be the one you just added). Always check the line numbers first to be sure.
Resources
Build Your Own Bot is based on the freeware located at github.com/malwaredllc/byob
Copyright 2025 Aries Security, LLC